
Undercuts in Plastic, 3b of 3
A flush face or new options for clamshell boxes.
PLASTIC PART DESIGNENGINEERING AND DESIGN STUFF
Bert
10/30/20232 min read


In my last post, we talked about “tilting” in the mold to address undercut issues. This post will discuss a specific application of that idea that was not implemented but someday somebody might, so here it is in case that somebody is you. (Part 1 and part 2 in case you missed them)
About ten years ago, I was working with a designer on a small case. It was like a large dental floss box but for an application where appearance was important. He wanted the front faces of the box and the lid to be flush to each other instead of having an angle between them that draft requires. Is that angle necessary? Remembering the trick I mentioned in the previous post, I thought there might be a way to do it. There was. There is a tradeoff to make and we never even made a prototype tool but I thought it was a good idea.
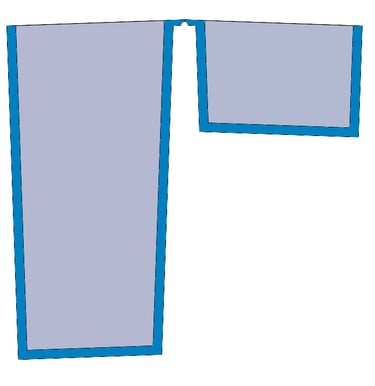
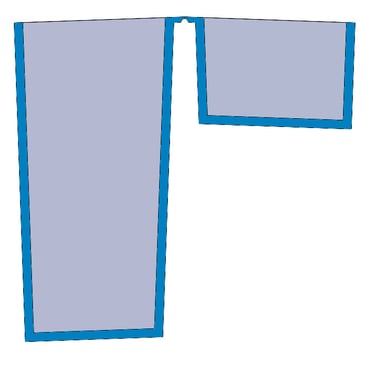
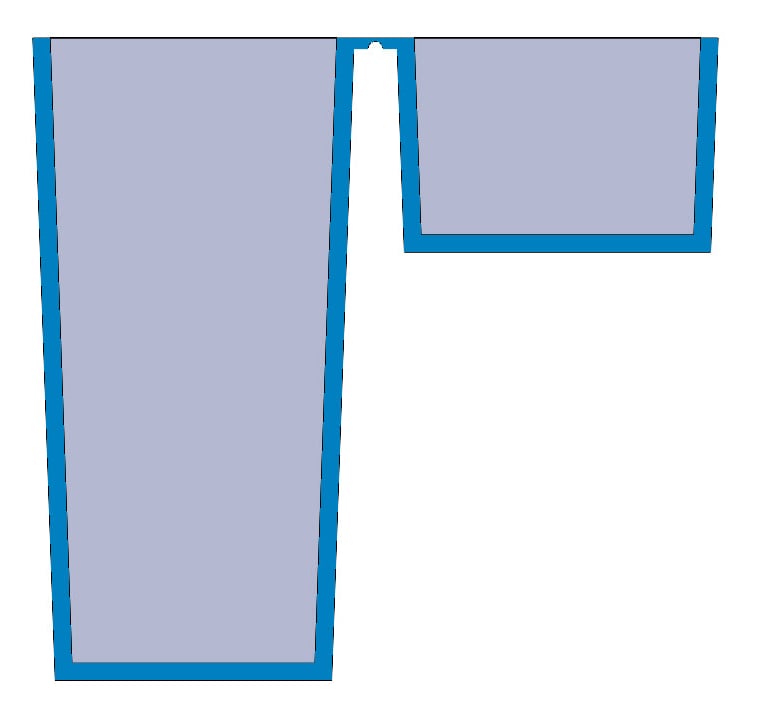
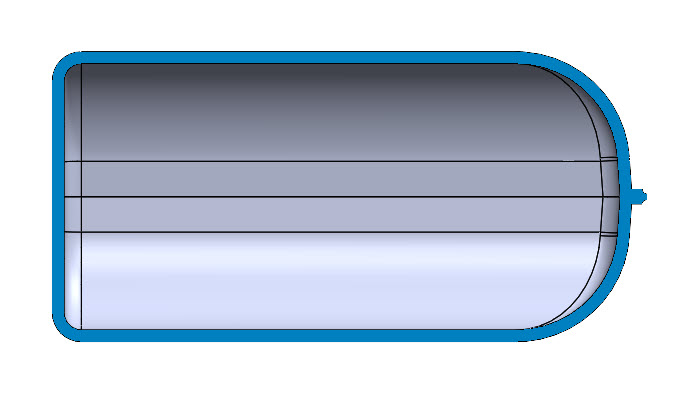
Let’s walk through the process. A typical living hinge box looks like this, open and then closed.
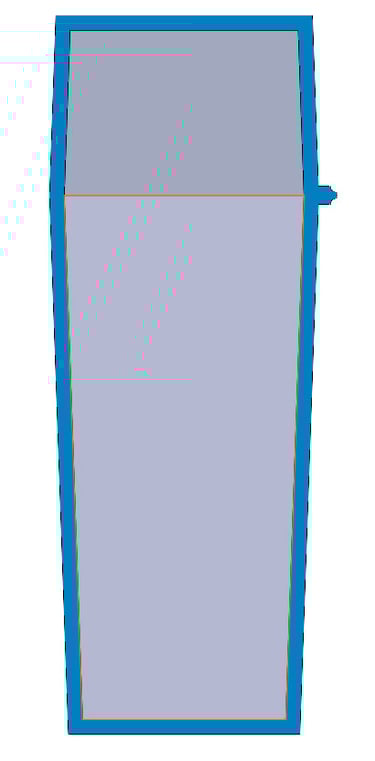
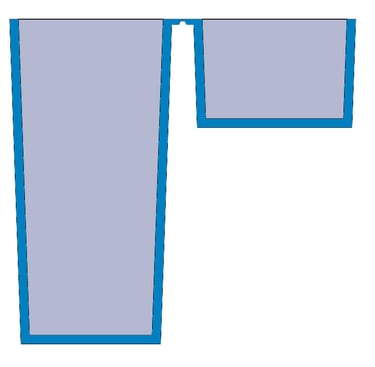
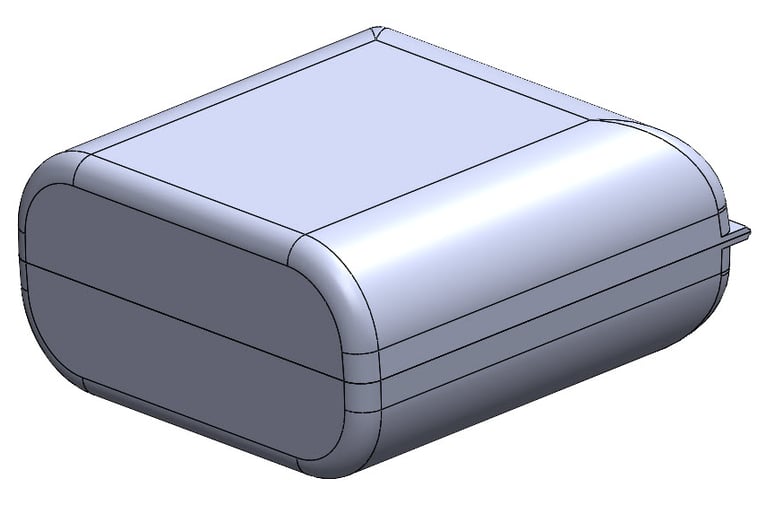
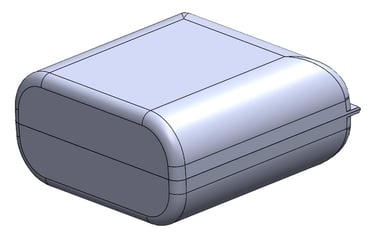
The cost is that you need to add more draft on the back face so hopefully that is something the designer can accept or work around. I arbitrarily chose a box with the top and bottom of different heights but it might be true that it would be easier to achieve pleasing aesthetics if they were the same height. Below is a very quick effort at that.
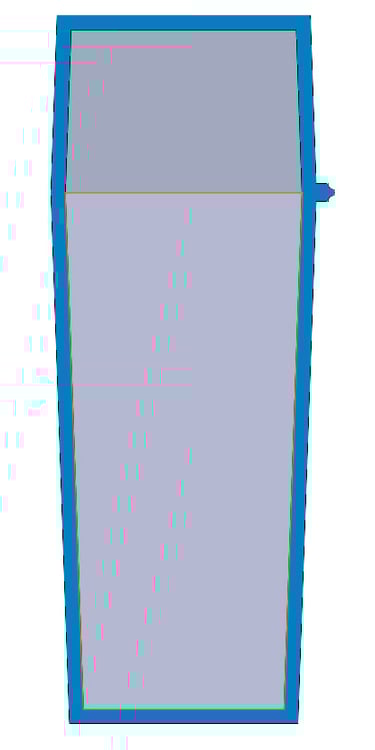
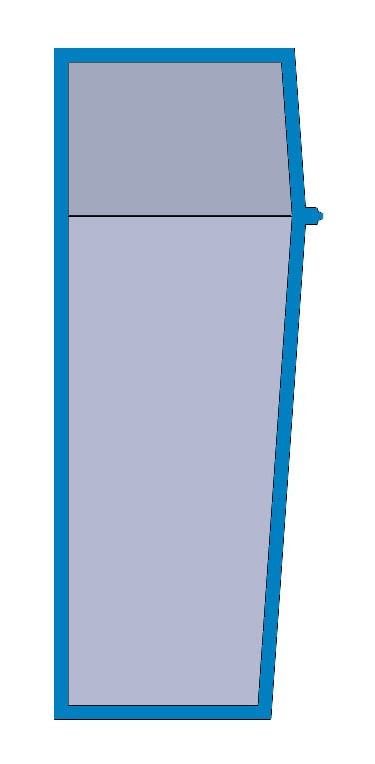
What changes do we need to make to that the front faces are flush to each other? Similar to in the previous post, you can tilt each half of the box with respect to the parting line. After adjusting the draft, the boxes look like this:


There you have it. Now you can make a box with a living hinge that has a flush front face. Hat tip to DH for pushing the envelope that led to this concept. I would love to know if someone uses this, or maybe you previously thought of it and have used it in the past. I have not used it yet but am always on the lookout for it.