
Undercuts in Plastic, 2 of 3.
A little sacrifice to get the job done.
ENGINEERING AND DESIGN STUFFPLASTIC PART DESIGN
Bert
10/17/20233 min read
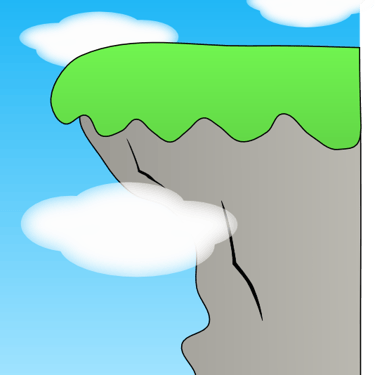

Last time we talked about undercuts and how plastic part designers avoid having them and how they sometimes add them intentionally. Then there are times when they are necessary and can’t be avoided. A common example is a cap or cover, such as the one for the highlighter sitting on my desk. Recalling from the previous post, small undercuts like that are not much of a problem. However, as the undercuts grow, so do the difficulties.
One frequent problem of larger undercuts is that while it may be ejecting off the core without trouble, the undercut feature is deformed. If the undercut is part of a snap fit, the deformation will likely negatively affect performance. Let’s assume your molder has tried multiple process variations and polishing the features differently. Maybe you even tried different materials but still you don’t have a good part. You might be so frustrated that you would give your left pinky to get the thing to work.
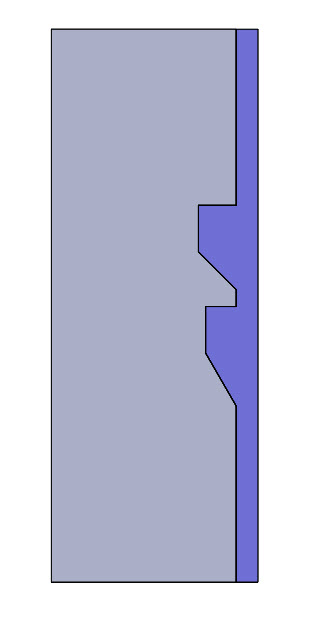
I am happy to say that you don’t have to sacrifice anything but something might have to make a sacrifice. For a counter intuitive solution, make additional undercuts but put them next to the existing ones. The trick is for these new undercuts to have a slightly steeper angle and greater depth than the one on the good features. Since it has a shallower angle, the plastic on the good features move away from the steel of the mold. The greater depth then keeps the steel away from the feature. That way, the good feature is not deformed and retains its desired shape.
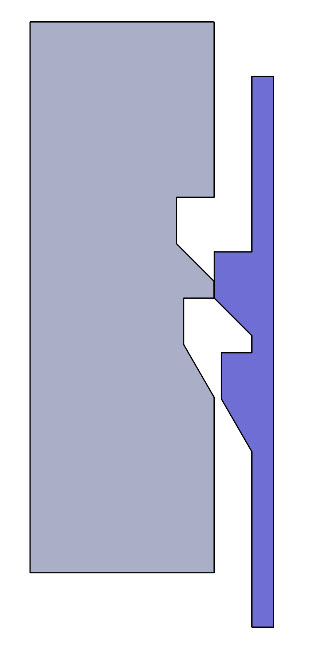
Some pictures to help understand. The first picture shows a blue part and a grey mold core. Note the different angles and heights of the undercuts. The lower one is the good rib and the upper is the sacrificial one. For clarity, they are shown on top of each other but ideally they would be next to each other in the other direction. The middle picture shows just after ejection has started. See that the steel and the part are no longer in contact at the good rib, protecting it from damage. In the last image, see that the steel is still not touching the good rib so that its shape should not be damaged. The sacrificial rib will probably be very deformed but you don’t care because it did its job.


Talk to your molder and mold maker about the best way to implement this solution so that you can get good parts. Finally, it is probably a good idea to put somewhere on the drawing or inspection sheet that the sacrificial ribs can be deformed so that an inspector does not reject what might look like a bad part.
The third in the series will talk about a way to avoid some undercuts. It was a life saver one time.